
Exhausted by the constant warping and detachment of your printed components from the build plate? Have you given various solutions like glue sticks, painter’s tape, and other inventive techniques a shot? Finding it challenging to safely extract your finished prints without causing harm? Advantageous Creations has been there, and we have found solutions to an all too common issue with 3D printing, bed adhesion…. Browse through our tips, solutions and troubleshooting guide to find a solution that works for you.
Solution #1 🙂
Layerneer Bed Weld: Your Ultimate 3D Print Bed Adhesion Solution! 🔥
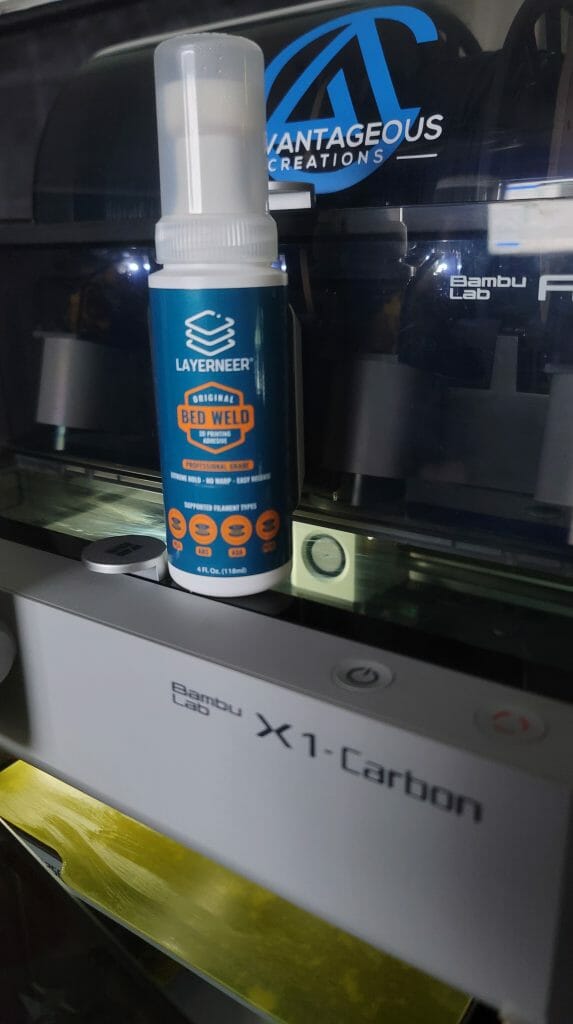
Are you tired of battling with frustrating 3D print bed adhesion issues? Say goodbye to warped prints, unglued components, and the never-ending struggle to remove completed prints without damage. We’ve got the game-changing solution you’ve been waiting for – Layerneer Bed Weld!
At Advantageous Creations, we were plagued by the same bed adhesion woes that many of you face. Warping, detachment, and print damage were holding back our creativity. That’s until we discovered Layerneer Bed Weld. This game-changing adhesive has revolutionized our printing process, enabling us to produce flawless prints with ease.
Don’t just take our word for it—experience the difference firsthand!
Get Your Layerneer Bed Weld Today!
Ready to bid farewell to bed adhesion troubles and unlock a new realm of printing possibilities? Take advantage of this information and get your hands on Layerneer Bed Weld now. Say hello to stress-free adhesion and pristine prints!
Don’t let bed adhesion issues hinder your 3D printing journey any longer. Elevate your creations with Layerneer Bed Weld and experience the joy of flawlessly adhered, damage-free prints. Order now with the button below and revolutionize your printing experience!
Disclaimer: Advantageous Creations is an affiliate partner of Layerneer Bed Weld, and we may earn a commission on purchases made through the provided link.
Solution #2 Cleanliness Matters
Ensuring a clean print surface is fundamental for successful bed adhesion in 3D printing. Here, we emphasize the importance of cleanliness and provide guidance on how to maintain a pristine print surface:
Why Cleanliness Matters:
A clean surface ensures that the first layer of your 3D print adheres uniformly and securely. Dust, grease, or residue can disrupt adhesion and lead to print failures or defects.
Proper Cleaning Procedure:
- Remove Debris: Start by removing any loose debris or filament remnants from the print surface using a soft brush or compressed air.
- Use Isopropyl Alcohol (IPA): Dampen a lint-free cloth or paper towel with isopropyl alcohol (IPA) and gently wipe down the print bed. Ensure the bed is dry before starting your print.
- Regular Maintenance: Incorporate routine cleaning into your 3D printing process to maintain optimal adhesion.
By following these cleaning procedures, you can maintain a clean print surface that promotes consistent and reliable bed adhesion.
Solution #3 Build Surface Materials: Understanding Your Options
When it comes to 3D printing bed adhesion solutions, it’s essential to understand the various build surface materials available. Below, we provide information about different materials commonly used in 3D printing to help you make informed choices:
a. PEI Sheets:
PEI (Polyetherimide) sheets are highly regarded for their exceptional adhesion properties and durability. Here’s why you might consider using PEI as a build surface:
- Outstanding Adhesion: PEI offers excellent bed adhesion for a wide range of 3D printing materials.
- Durability: PEI sheets are known for their long-lasting performance.
- Heat Resistance: They can handle high temperatures, making them suitable for materials like ABS that require a heated bed.
- Ease of Maintenance: PEI sheets are easy to clean and maintain, ensuring consistent adhesion over time.
b. Glass Beds:
Glass beds are favored for their consistent and smooth printing surface. Here’s why many 3D printing enthusiasts appreciate using glass as a build surface:
- Flat and Even Surface: Glass beds provide an ultra-flat surface, ideal for achieving precise prints with a smooth finish.
- Heat Distribution: They distribute heat evenly across the print surface, ensuring uniform adhesion and preventing warping.
- Compatibility: Glass beds work well with a variety of filament materials, from PLA to PETG.
- Ease of Print Removal: Prints can be effortlessly removed from a glass bed once they cool down.
c. Magnetic Flex Plates:
Magnetic flex plates offer flexibility and convenience, making them a fantastic choice for users who want easy print removal and bed switching:
- Quick Print Removal: The magnetic surface allows for effortless removal of prints without any scraping or damage.
- Versatility: Switching between different build surfaces or materials is a breeze with magnetic flex plates.
- Durable and Reusable: They are designed to last and can be used for multiple prints.
d. G-10 Garolite:
G-10 Garolite is a high-performance material known for its exceptional temperature resistance and suitability for demanding 3D printing applications. Here’s why it’s a notable option:
- High-Temperature Resistance: G-10 Garolite can withstand elevated temperatures, making it suitable for printing high-temperature materials like Nylon.
- Dimensional Stability: It maintains its shape and flatness, ensuring consistent adhesion even under challenging conditions.
- Chemical Resistance: G-10 Garolite is resistant to various chemicals, adding to its durability.
- Ideal for Specialty Filaments: If you work with advanced filaments that require higher bed temperatures, G-10 Garolite is worth considering.
This information will help you understand the characteristics of these materials, allowing you to make informed decisions when configuring your 3D printing setup.
Solution #4 Bed Leveling and Calibration Tools: Ensuring Precision in 3D Printing
Achieving precise bed leveling and calibration is a critical aspect of 3D printing that significantly impacts the quality and success of your prints. Below, we discuss the essential tools and procedures involved in bed leveling and calibration:
a. Auto Bed Leveling Kits:
Auto bed leveling kits are a convenient solution that automates the process of adjusting the print bed’s height. They offer several benefits:
- Simplified Bed Leveling: These kits eliminate the need for manual adjustments, streamlining the setup process.
- Consistent Results: Auto bed leveling ensures a uniformly level bed for every print, reducing the risk of print failures due to uneven surfaces.
- User-Friendly: Designed for ease of use, these kits are suitable for both beginners and experienced users.
b. Calibration Tools:
Calibration is the practice of fine-tuning your 3D printer to ensure optimal adhesion and print quality. Several calibration tools can help you achieve precise results:
- Print Bed Leveling Probes: These probes accurately measure the distance between the print nozzle and the bed at multiple points, facilitating precise bed leveling.
- Feeler Gauges: Feeler gauges allow you to measure the gap between the print nozzle and the bed, aiding in meticulous adjustments.
- Calibration Blocks: Calibration blocks are essential for fine-tuning your printer’s extruder settings, guaranteeing accurate filament deposition.
c. Bed Adhesion Test Kits:
Bed adhesion test kits help you determine the ideal settings for bed adhesion, tailored to your chosen materials and print conditions:
- Diverse Test Surfaces: These kits come with various surface samples, allowing you to experiment and discover the best surface for your specific filament.
- Temperature Recommendations: Each kit provides temperature guidelines to optimize adhesion for different materials.
- Comprehensive Guidance: You’ll receive recommendations for bed temperature, nozzle temperature, and print speed, ensuring successful prints.
d. Expert Guidance and Support:
Bed leveling and calibration can be challenging, especially for those new to 3D printing. We understand that calibration is a crucial part of the 3D printing process. By understanding the importance of bed leveling, calibration, utilizing the right tools, and techniques, you can ensure that your 3D printing projects consistently yield exceptional results. Whether you’re a novice or an experienced user, this knowledge will empower you to produce high-quality prints consistently.
Solution #5 Bed Temperature
Bed temperature plays a crucial role in bed adhesion, especially for materials like ABS or PETG. Here, we discuss the impact of bed temperature and provide recommended settings for various filament materials:
Impact of Bed Temperature:
- Promotes Adhesion: Proper bed temperature helps the first layer of filament bond securely to the build surface.
- Prevents Warping: Maintaining the correct bed temperature can prevent warping, especially for materials prone to it.
Recommended Bed Temperatures:
- PLA: 50-60°C
- ABS: 80-100°C
- PETG: 70-80°C
- Nylon: 80-110°C
These recommended bed temperatures provide a starting point for optimizing adhesion based on the filament material you’re using.
Solution #6 Adhesion Aids
Additional adhesion aids such as brims, skirts, or rafts can be beneficial in specific printing situations. In this section, we explain when and how to use these aids effectively:
Brims:
- Usage: Brims are thin layers of filament printed around the base of your model. They help improve adhesion by increasing the surface area of the first layer.
- When to Use: Consider using brims when printing objects with small or delicate first layers that may otherwise lift during printing.
Skirts:
- Usage: Skirts are printed outlines around your model, but they are not attached to it. They help prime the nozzle and ensure a clean start to the actual print.
- When to Use: Skirts are useful for ensuring proper extrusion at the beginning of the print and can help detect issues before the main print starts.
Rafts:
- Usage: Rafts are thicker support structures that the print adheres to. They provide excellent bed adhesion but require more material.
- When to Use: Rafts are beneficial when dealing with challenging prints, especially those with small contact points or irregular shapes.
Understanding when to employ these adhesion aids can improve the reliability of your prints and enhance bed adhesion as needed.
By incorporating these bed adhesion solutions into your 3D printing process, you can achieve consistent and successful prints with ease.
Troubleshooting Guide & Overview of Common Bed Adhesion Problems
Bed adhesion issues can be frustrating, but understanding the causes and implementing effective solutions can significantly improve your 3D printing experience. Here are common problems and how to troubleshoot them:
1. Warping and Curling
Problem: Warping and curling occur when the edges or corners of your 3D print start lifting or warping away from the build surface.
Troubleshooting:
- Increase Bed Temperature: Raise the bed temperature for materials like ABS to improve adhesion and reduce warping.
- Enclosure: Printing in an enclosure can maintain a consistent temperature around the print, preventing warping.
- Adhesion Aids: Consider using a brim or a raft to increase the contact area between the print and the bed.
2. Insufficient Adhesion
Problem: The first layer of your print does not adhere well to the bed, leading to failed prints.
Troubleshooting:
- Clean the Surface: Ensure the print bed is clean and free from dust, grease, or residue. Follow proper cleaning procedures.
- Level the Bed: Make sure your bed is properly leveled. Adjust the bed height to ensure proper nozzle-to-bed distance.
- Bed Temperature: Check that the bed temperature is suitable for the material you’re using. Adjust if necessary.
- Extruder Calibration: Calibrate the extruder to ensure the right amount of filament is being deposited.
3. Excessive Extrusion/Nozzle Dragging
Problem: The nozzle drags through the first layer, pushing the print around and causing poor adhesion.
Troubleshooting:
- First Layer Height Calibration: Recalibrate the first layer height to ensure proper nozzle clearance.
- Extrusion Multiplier: Adjust the extrusion multiplier in your slicer settings to fine-tune filament flow.
- Check for Clogs: Ensure there are no partial nozzle clogs that may cause irregular extrusion.
4. Print Not Sticking
Problem: The print doesn’t adhere to the bed and may detach during the printing process.
Troubleshooting:
- Bed Surface: Evaluate your print surface material. Some materials work better with specific filaments; consider alternative surfaces if needed.
- Clean and Apply Adhesive: Clean the bed surface thoroughly and apply appropriate adhesives like glue stick or specialized adhesion solutions.
- Bed Leveling: Recheck and adjust bed leveling to ensure the nozzle is at the correct height.
5. Print Won’t Release from Bed
Problem: The print sticks so firmly to the bed that it’s challenging to remove without damaging the model.
Troubleshooting:
- Cooling: Allow the print to cool down completely before attempting to remove it.
- Use a Removal Tool: Gently use a spatula or removal tool designed for 3D printing to carefully release the print.
- Reduce Bed Temperature: Lower the bed temperature for materials like PLA to make removal easier.
6. Inconsistent Adhesion Across the Bed
Problem: Adhesion varies across different areas of the print bed, leading to uneven prints.
Troubleshooting:
- Leveling Check: Recheck and adjust bed leveling, ensuring consistency across the entire print surface.
- Print Surface Quality: Evaluate the quality of your print surface material and consider upgrading if it’s inconsistent.